> ## Documentation Index
> Fetch the complete documentation index at: https://docs.penbox.io/llms.txt
> Use this file to discover all available pages before exploring further.
# Build your first form in Penbox
> Create a form template in Penbox to collect information and documents from your clients.
In Penbox, you will often need to send forms to collect information and documents from your clients.
A form in Penbox contains questions organised into sections. You can make some questions mandatory and others optional. Around the form itself, we recommend setting up notifications toward the person filling in the form (**notifications to contact**) and notifications toward yourself — the person responsible for the form (**notifications to team**).
## Build your form
Go to your Penbox workspace.
Click **Templates** in the left-hand navigation.
Click **Forms**.
Click **Create template**.
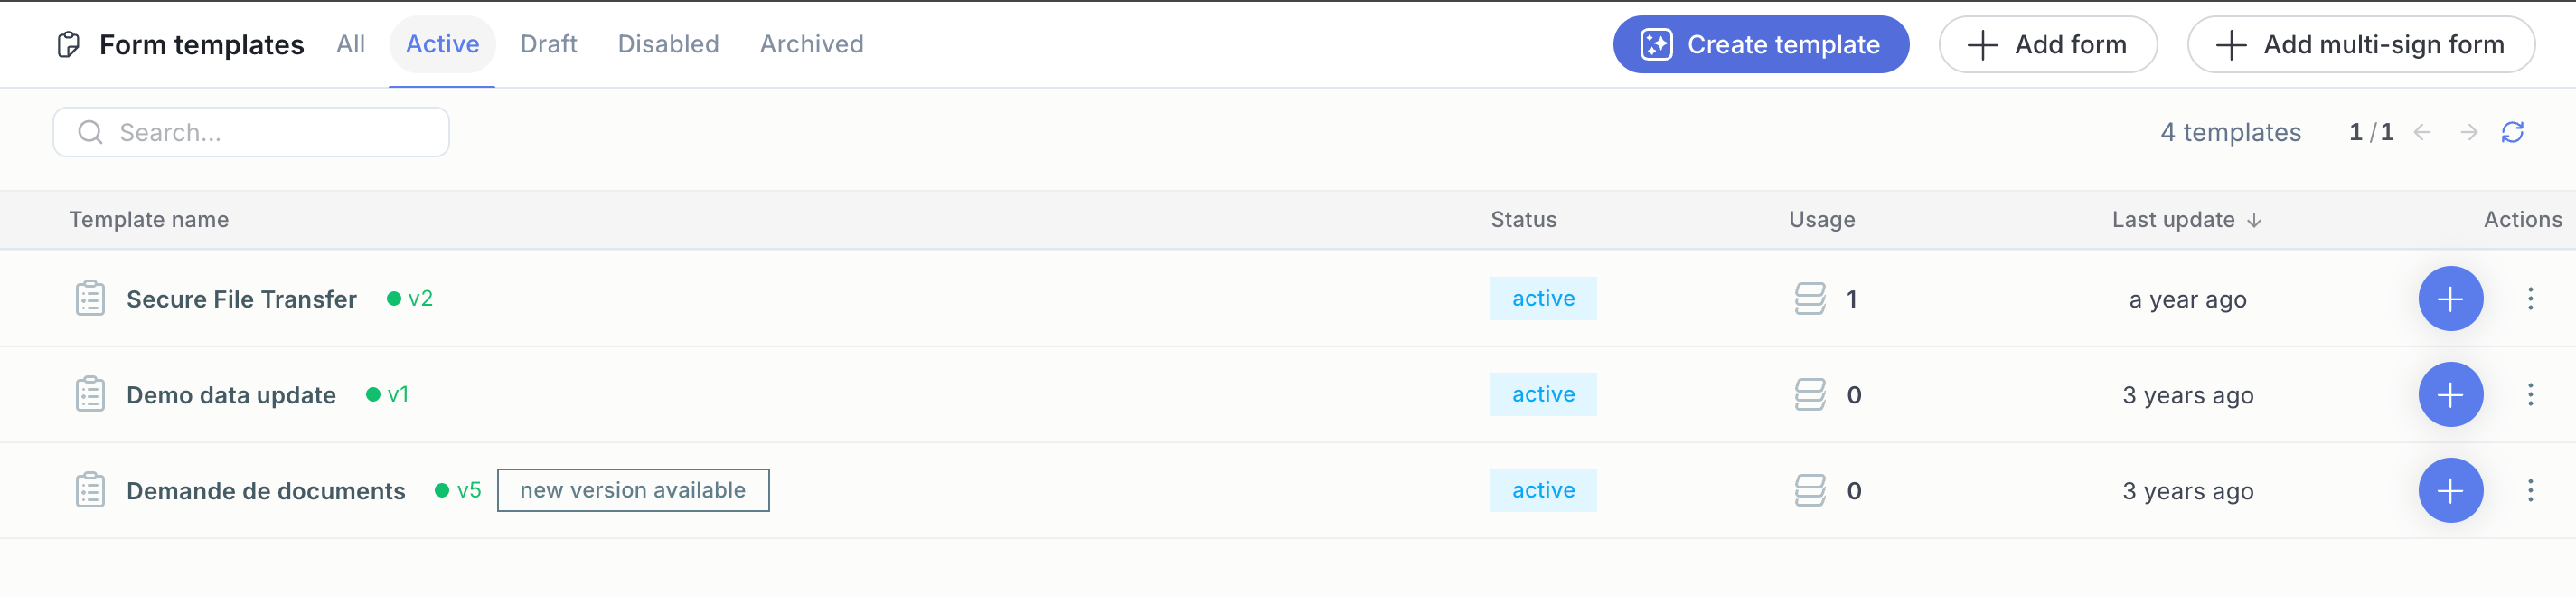 Choose a name for your form, then click **"Create a form"**.
Start building your form with the help of the Penbox Agent by clicking **Assistant**.
In the chat, describe the form you want the assistant to build for you — or upload a PDF of an existing form you want to digitalise.
Choose a name for your form, then click **"Create a form"**.
Start building your form with the help of the Penbox Agent by clicking **Assistant**.
In the chat, describe the form you want the assistant to build for you — or upload a PDF of an existing form you want to digitalise.
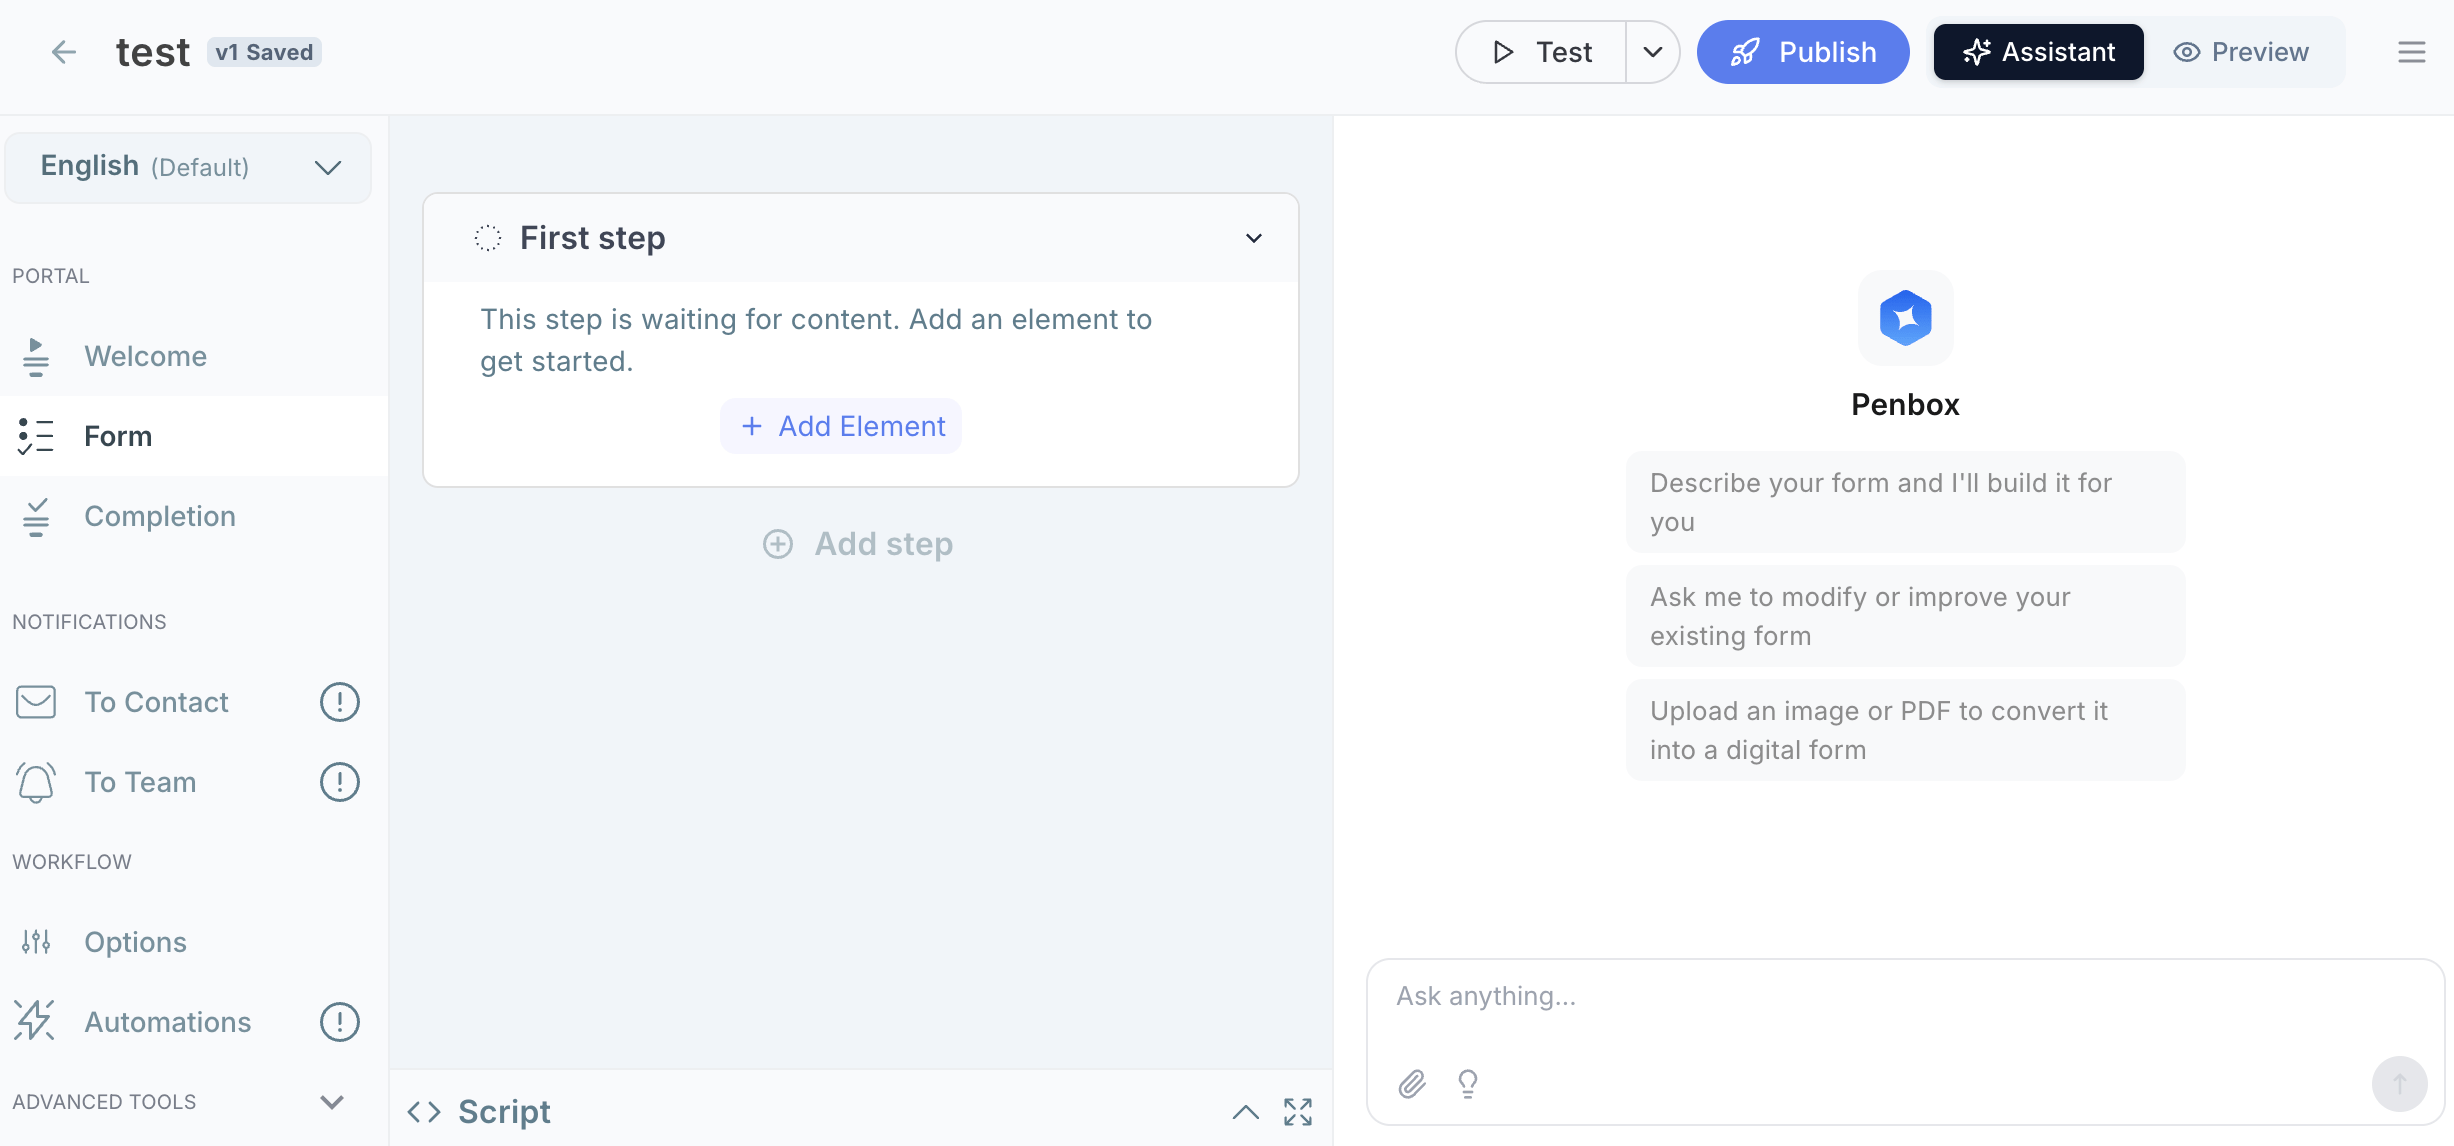 The assistant will describe each action it takes in the form. If any action does not suit you, click **Undo** next to that action.
Go back and forth with the assistant in the chat until the form matches your needs 100%.
Browse through all the form tabs — **Welcome page**, **Form**, **Completion page**, **Notifications to contact**, and **Notifications to team** — to verify the result.
The assistant will describe each action it takes in the form. If any action does not suit you, click **Undo** next to that action.
Go back and forth with the assistant in the chat until the form matches your needs 100%.
Browse through all the form tabs — **Welcome page**, **Form**, **Completion page**, **Notifications to contact**, and **Notifications to team** — to verify the result.
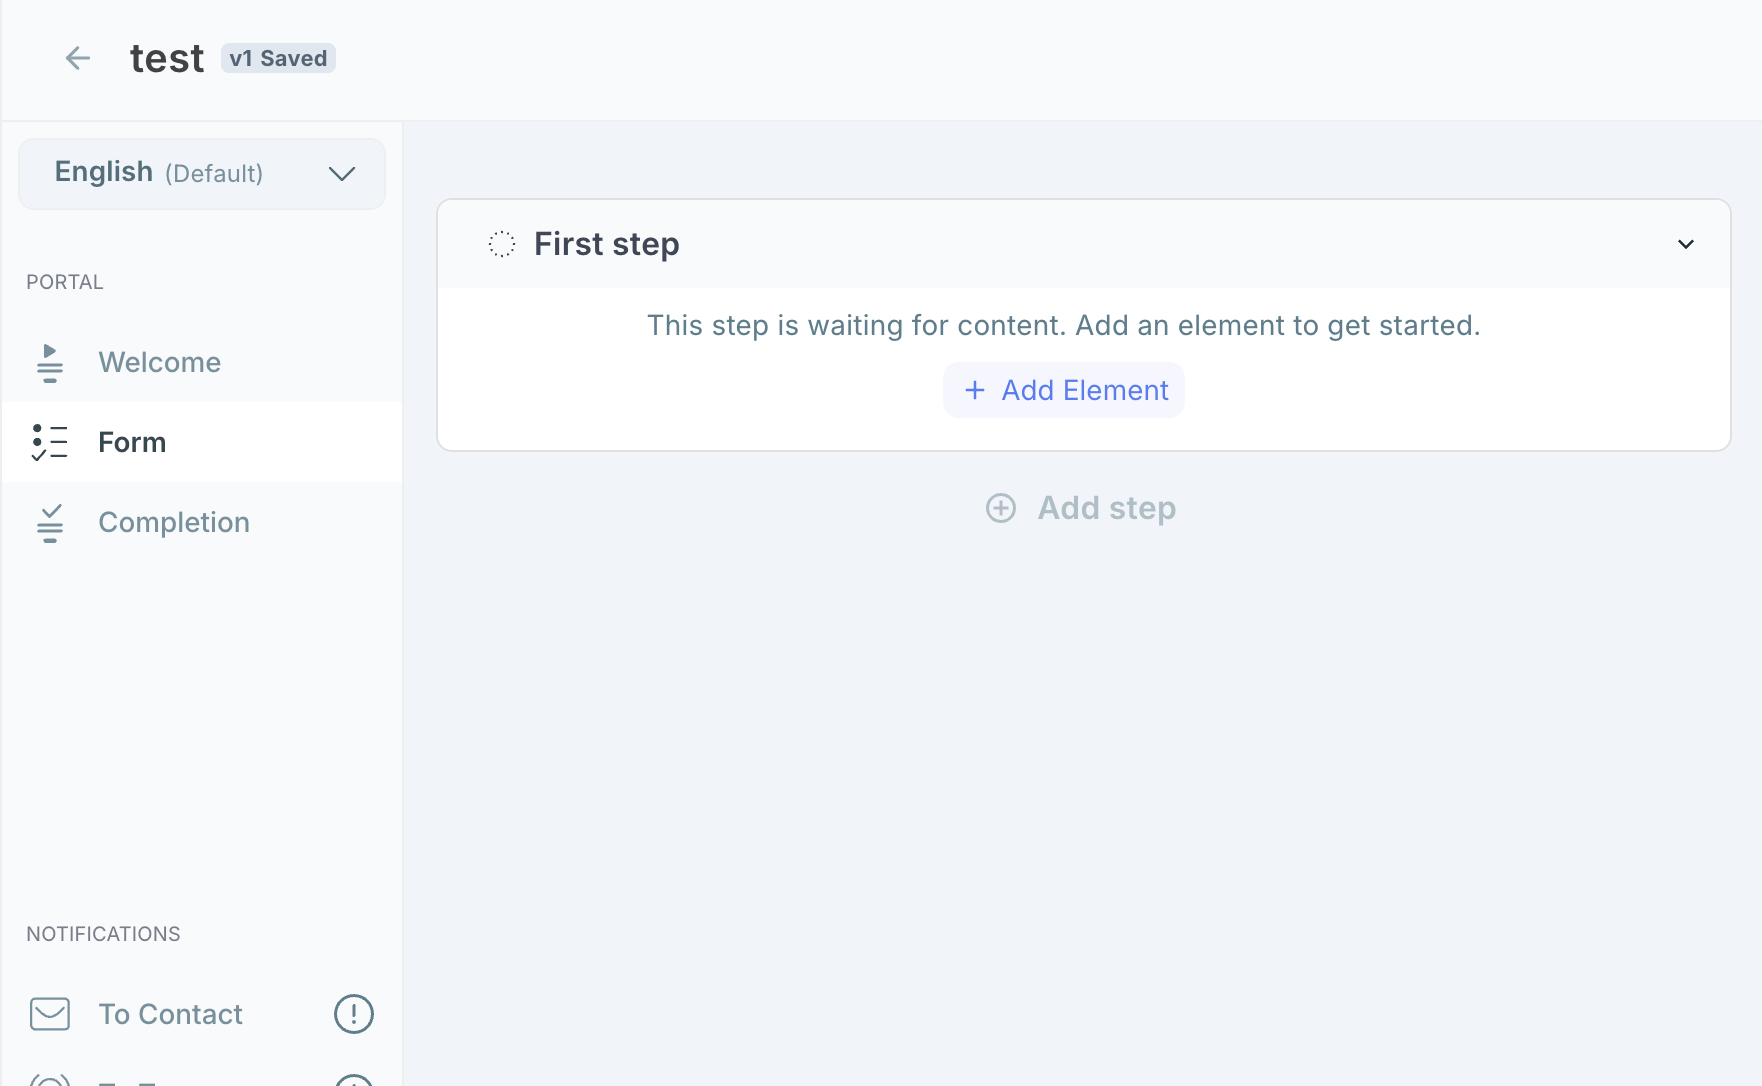 Make sure notifications are set up both for the contact (the person filling in the form) and for the team (the person who sent the form). This ensures everyone stays informed throughout the process.
Once you are happy with the result, click **Publish**.
You have just created the first version of your form. It is now ready to be sent.
***
## What's next?
Configure the invitation and reminder emails your contacts receive.
Learn more about how form templates work in Penbox.
Make sure notifications are set up both for the contact (the person filling in the form) and for the team (the person who sent the form). This ensures everyone stays informed throughout the process.
Once you are happy with the result, click **Publish**.
You have just created the first version of your form. It is now ready to be sent.
***
## What's next?
Configure the invitation and reminder emails your contacts receive.
Learn more about how form templates work in Penbox.