> ## Documentation Index
> Fetch the complete documentation index at: https://docs.penbox.io/llms.txt
> Use this file to discover all available pages before exploring further.
# Send a campaign
> Send mass form requests to your clients via Penbox, using Excel CSV files and Penbox Campaigns.
**Goal:** Send a form in bulk to a large number of recipients, based on an Excel file containing the information needed to pre-fill your forms.
A campaign lets you send a specific form to a large number of people at once. In this guide, you will learn how to — starting from an Excel file containing data that maps to your form fields — send a campaign to your recipients.
This guide walks you through every step: from creating a campaign to scheduling your sends.
***
## Part 1: Prepare your Excel file
Your Excel file is the source of data for your campaign. Each row represents one recipient, and each column represents a piece of information — either about the person to contact, or data to pre-fill in their form.
The **column headers must match the variable names used in your Penbox form**. Penbox will use these to map each column to the right field when you upload the file.
Once your file is ready, save it as a **CSV file** — Penbox requires a CSV format to import your data and launch the campaign.
For contact variables, the standard Penbox names are: `user.given_name` (first name), `user.family_name` (last name), `user.email` (email), `user.phone` (mobile number).
Make sure every mobile number in your file respects the following rules:
* One mobile number per field
* In one of these formats: `00324…` · `+324…` · `04…`
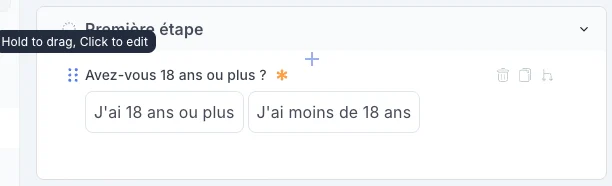
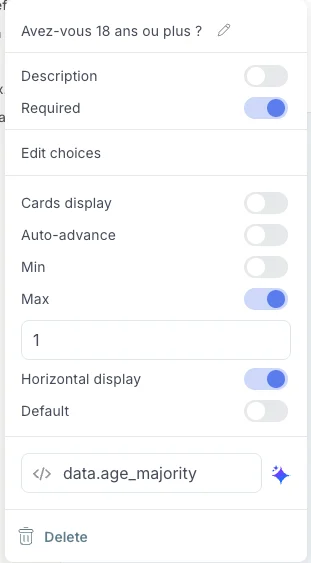
To find the variable name of a field in one of your forms: go to **Templates → Forms**, open the form, click **Edit**, find the question, then click the **six dots** icon next to it. The variable name appears next to the **\** symbol.
 ***
## Part 2: Review and test your form
Before launching your campaign, make sure the form you want to send is ready and works as expected.
Navigate to **Templates → Forms**.
Click on the form you want to send as a campaign.
Click **New request** to send the form to yourself and verify that everything looks correct.
***
## Part 3: Create and configure the campaign
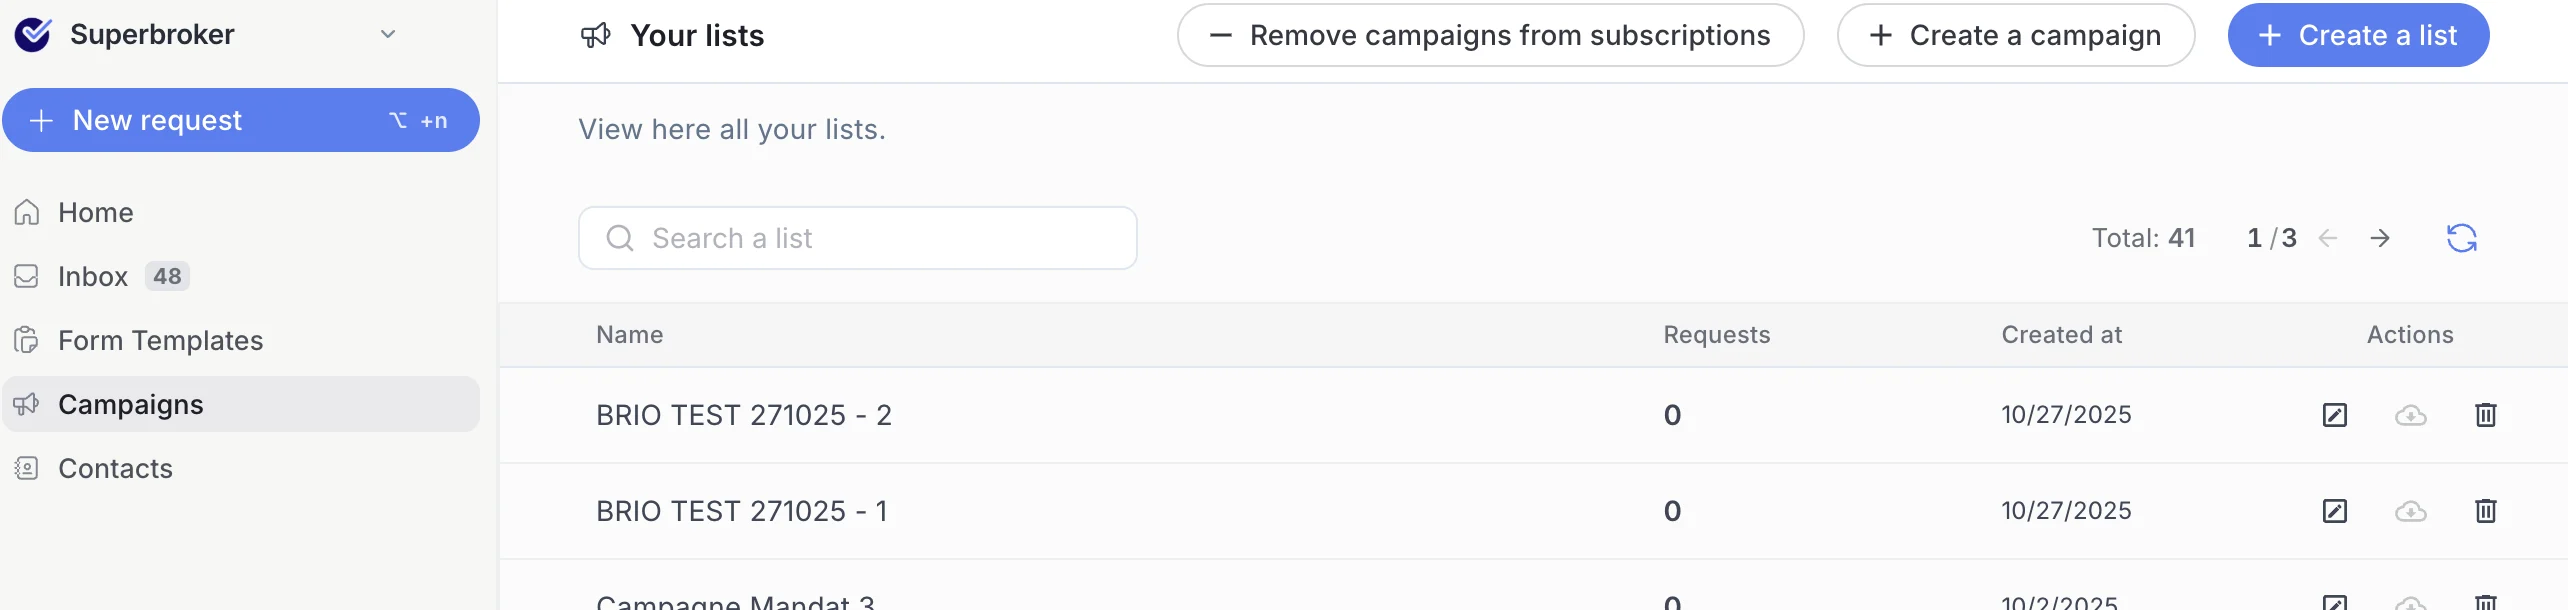
Click **Campaigns** in the left-hand navigation.
Click **Create a campaign**.
***
## Part 2: Review and test your form
Before launching your campaign, make sure the form you want to send is ready and works as expected.
Navigate to **Templates → Forms**.
Click on the form you want to send as a campaign.
Click **New request** to send the form to yourself and verify that everything looks correct.
***
## Part 3: Create and configure the campaign
Click **Campaigns** in the left-hand navigation.
Click **Create a campaign**.
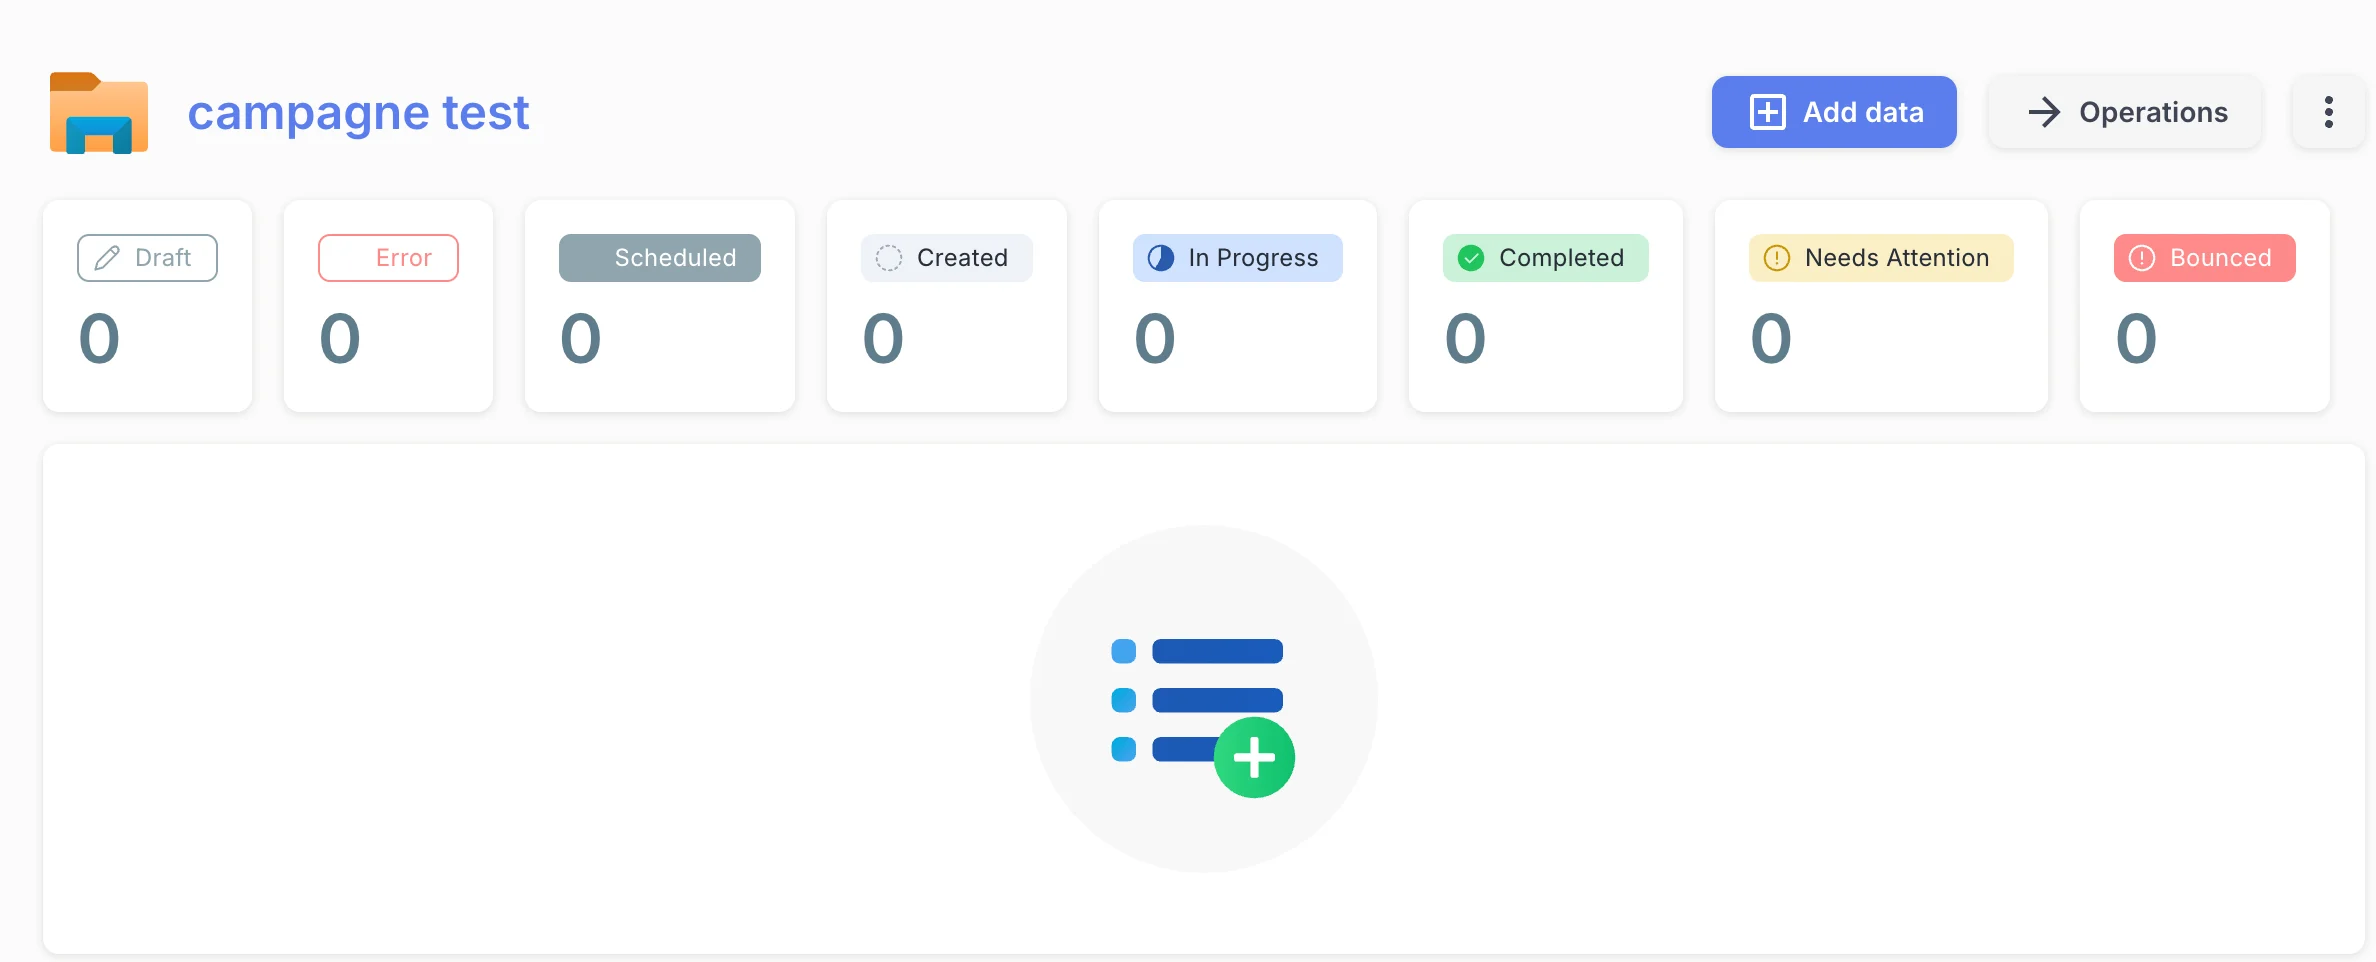
 Give your campaign a clear, recognisable name.
Click **Add data**.
Give your campaign a clear, recognisable name.
Click **Add data**.
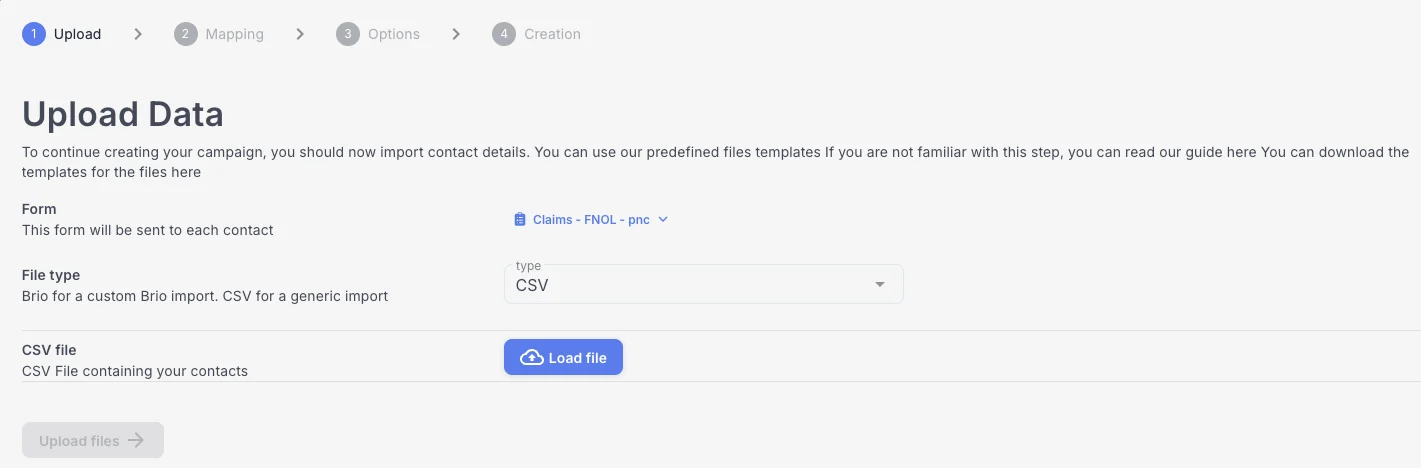
 Choose the form you want to send in bulk.
Choose **CSV** as the file type.
Upload the CSV file you prepared in Part 1.
Click **Upload files**.
Choose the form you want to send in bulk.
Choose **CSV** as the file type.
Upload the CSV file you prepared in Part 1.
Click **Upload files**.
 Review the mapping screen that appears and confirm that all fields have been imported correctly.
Click **Validate mapping**.
You will now see a preview of the individual forms that will be sent. Take a moment to check the content of a few.
Click **Validate options**.
Click **Start creation** to generate all the individual forms. This may take a moment.
***
## Part 4: Schedule your sends
Once the forms are created, click **Schedule** to define when and how sends go out.
Fill in the following options:
* **Sends per wave** — how many forms go out per batch
* **Start date** — when sending should begin
* **Send time** — the time of day for each wave
* **Send days** — the days of the week on which sends happen
**Example:** 3 sends per day · send days: Monday and Wednesday · send time: 11:00 AM → 3 forms will go out every Monday and Wednesday at 11 AM.
Click **Start scheduling**. This may take a moment.
***
## You're done 🎉
Your campaign is created and your sends are scheduled. Well done!
***
## What's next?
Configure the invitation and reminder emails your recipients receive.
Review the mapping screen that appears and confirm that all fields have been imported correctly.
Click **Validate mapping**.
You will now see a preview of the individual forms that will be sent. Take a moment to check the content of a few.
Click **Validate options**.
Click **Start creation** to generate all the individual forms. This may take a moment.
***
## Part 4: Schedule your sends
Once the forms are created, click **Schedule** to define when and how sends go out.
Fill in the following options:
* **Sends per wave** — how many forms go out per batch
* **Start date** — when sending should begin
* **Send time** — the time of day for each wave
* **Send days** — the days of the week on which sends happen
**Example:** 3 sends per day · send days: Monday and Wednesday · send time: 11:00 AM → 3 forms will go out every Monday and Wednesday at 11 AM.
Click **Start scheduling**. This may take a moment.
***
## You're done 🎉
Your campaign is created and your sends are scheduled. Well done!
***
## What's next?
Configure the invitation and reminder emails your recipients receive.