> ## Documentation Index
> Fetch the complete documentation index at: https://docs.penbox.io/llms.txt
> Use this file to discover all available pages before exploring further.
# Set up your new workspace
> The essential settings to configure in your Penbox workspace before you start.
To get the best experience in Penbox from day one, we recommend completing the following settings in your newly created workspace.
Go to **Settings** in your workspace, then work through each tab below.
 ***
## Information
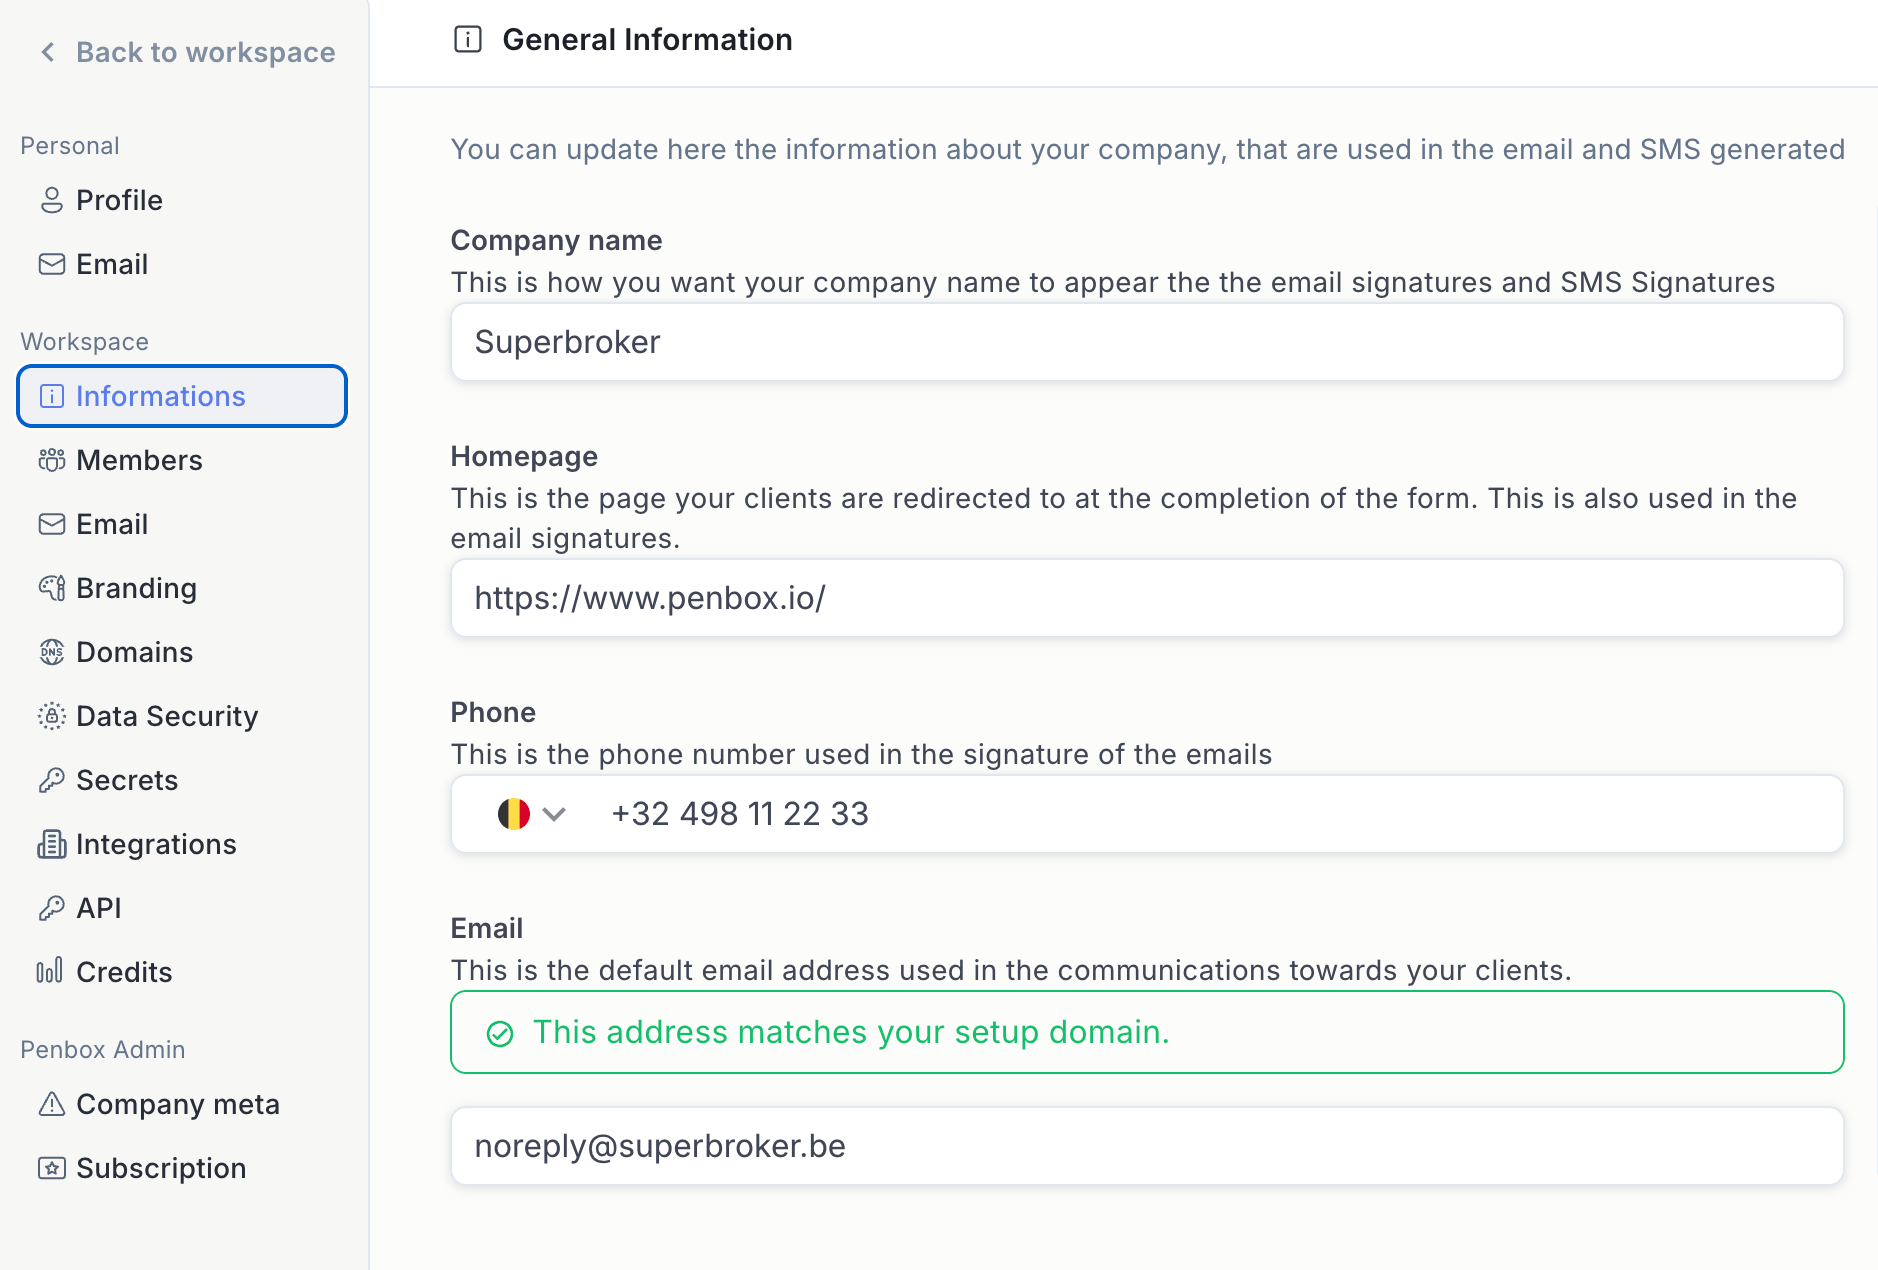
In the **Information** tab:
* **Company name:** verify and update it if necessary.
* **Website:** verify and update your company website. This is useful for redirecting your clients to your site at the end of a form.
* **Phone number and general email address:** verify and update these. They are typically used in certain form signatures.
***
## Members
In the **Members** tab, invite your teammates to join your workspace:
***
## Information
In the **Information** tab:
* **Company name:** verify and update it if necessary.
* **Website:** verify and update your company website. This is useful for redirecting your clients to your site at the end of a form.
* **Phone number and general email address:** verify and update these. They are typically used in certain form signatures.
***
## Members
In the **Members** tab, invite your teammates to join your workspace:
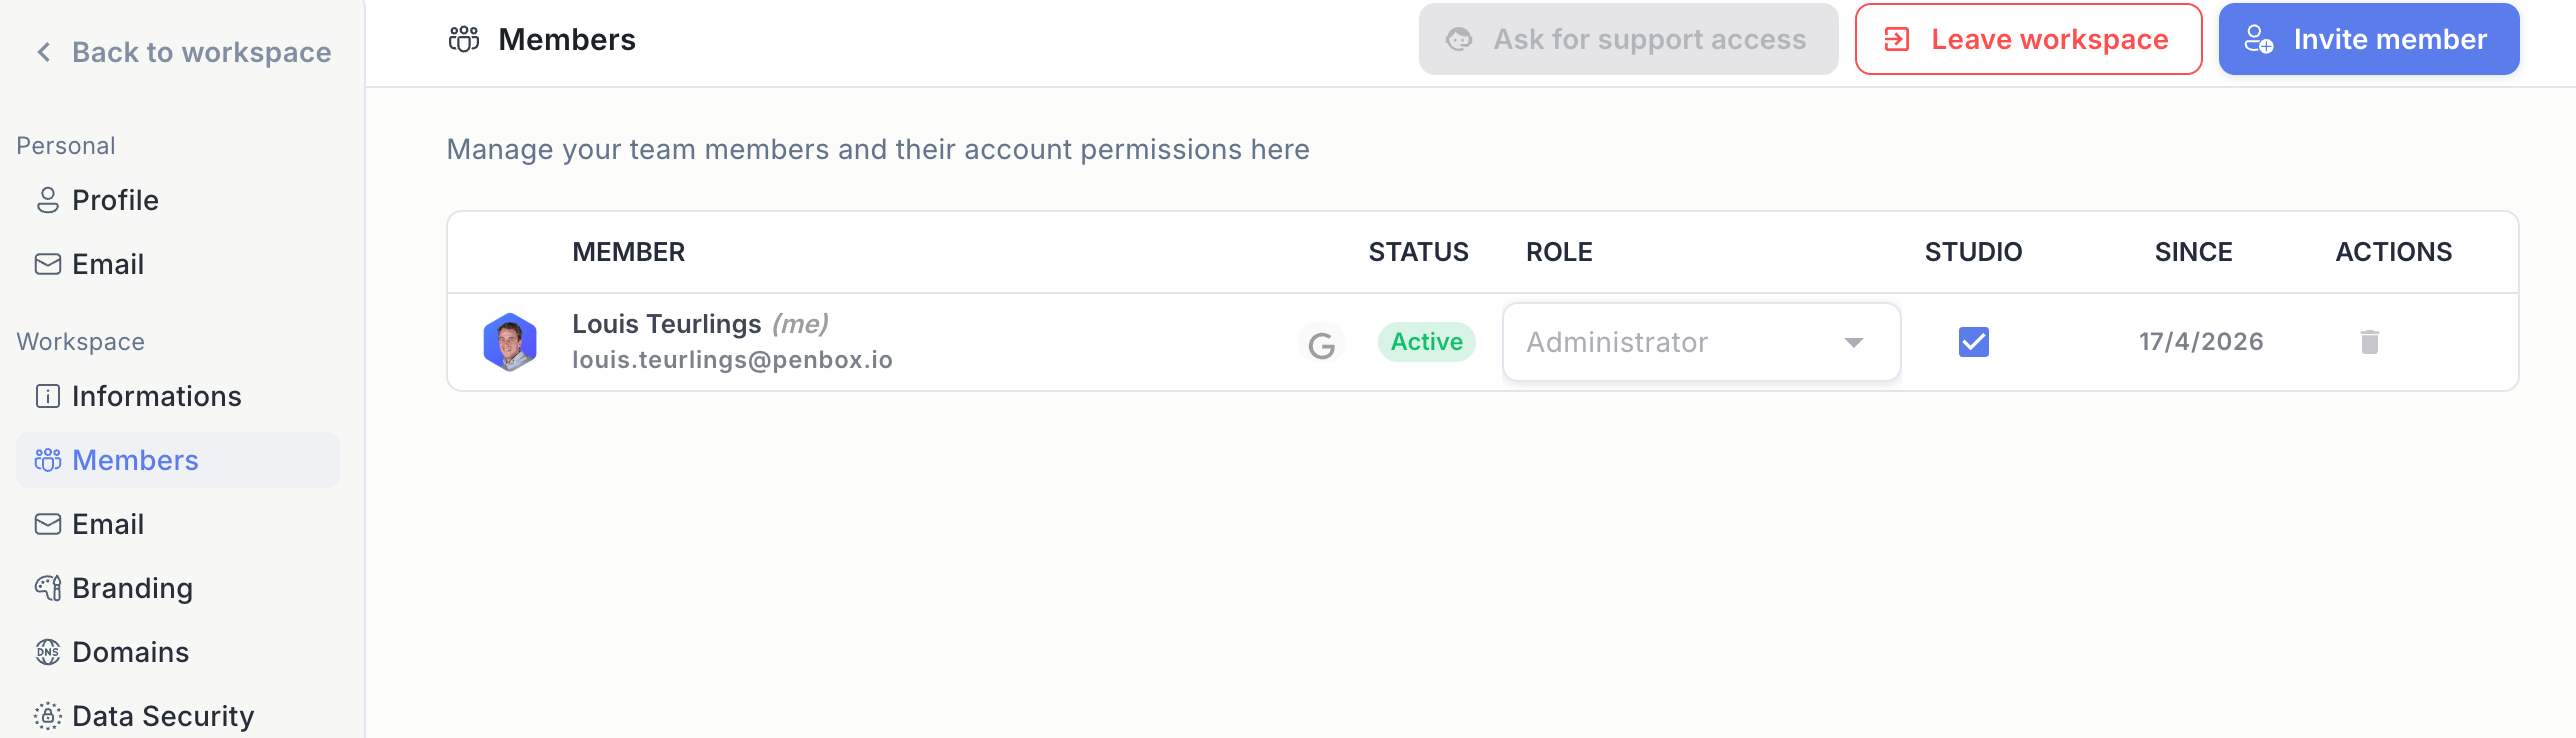 Click **Invite member**.
Enter their **email address**, **first name**, and **last name** (all required).
Choose the role you want to assign to them.
Choose whether to give them access to edit **case templates** and **form templates**.
Click **Send**.
***
## Branding
In the **Branding** tab, define your visual identity to improve the experience for your clients:
Click **Invite member**.
Enter their **email address**, **first name**, and **last name** (all required).
Choose the role you want to assign to them.
Choose whether to give them access to edit **case templates** and **form templates**.
Click **Send**.
***
## Branding
In the **Branding** tab, define your visual identity to improve the experience for your clients:
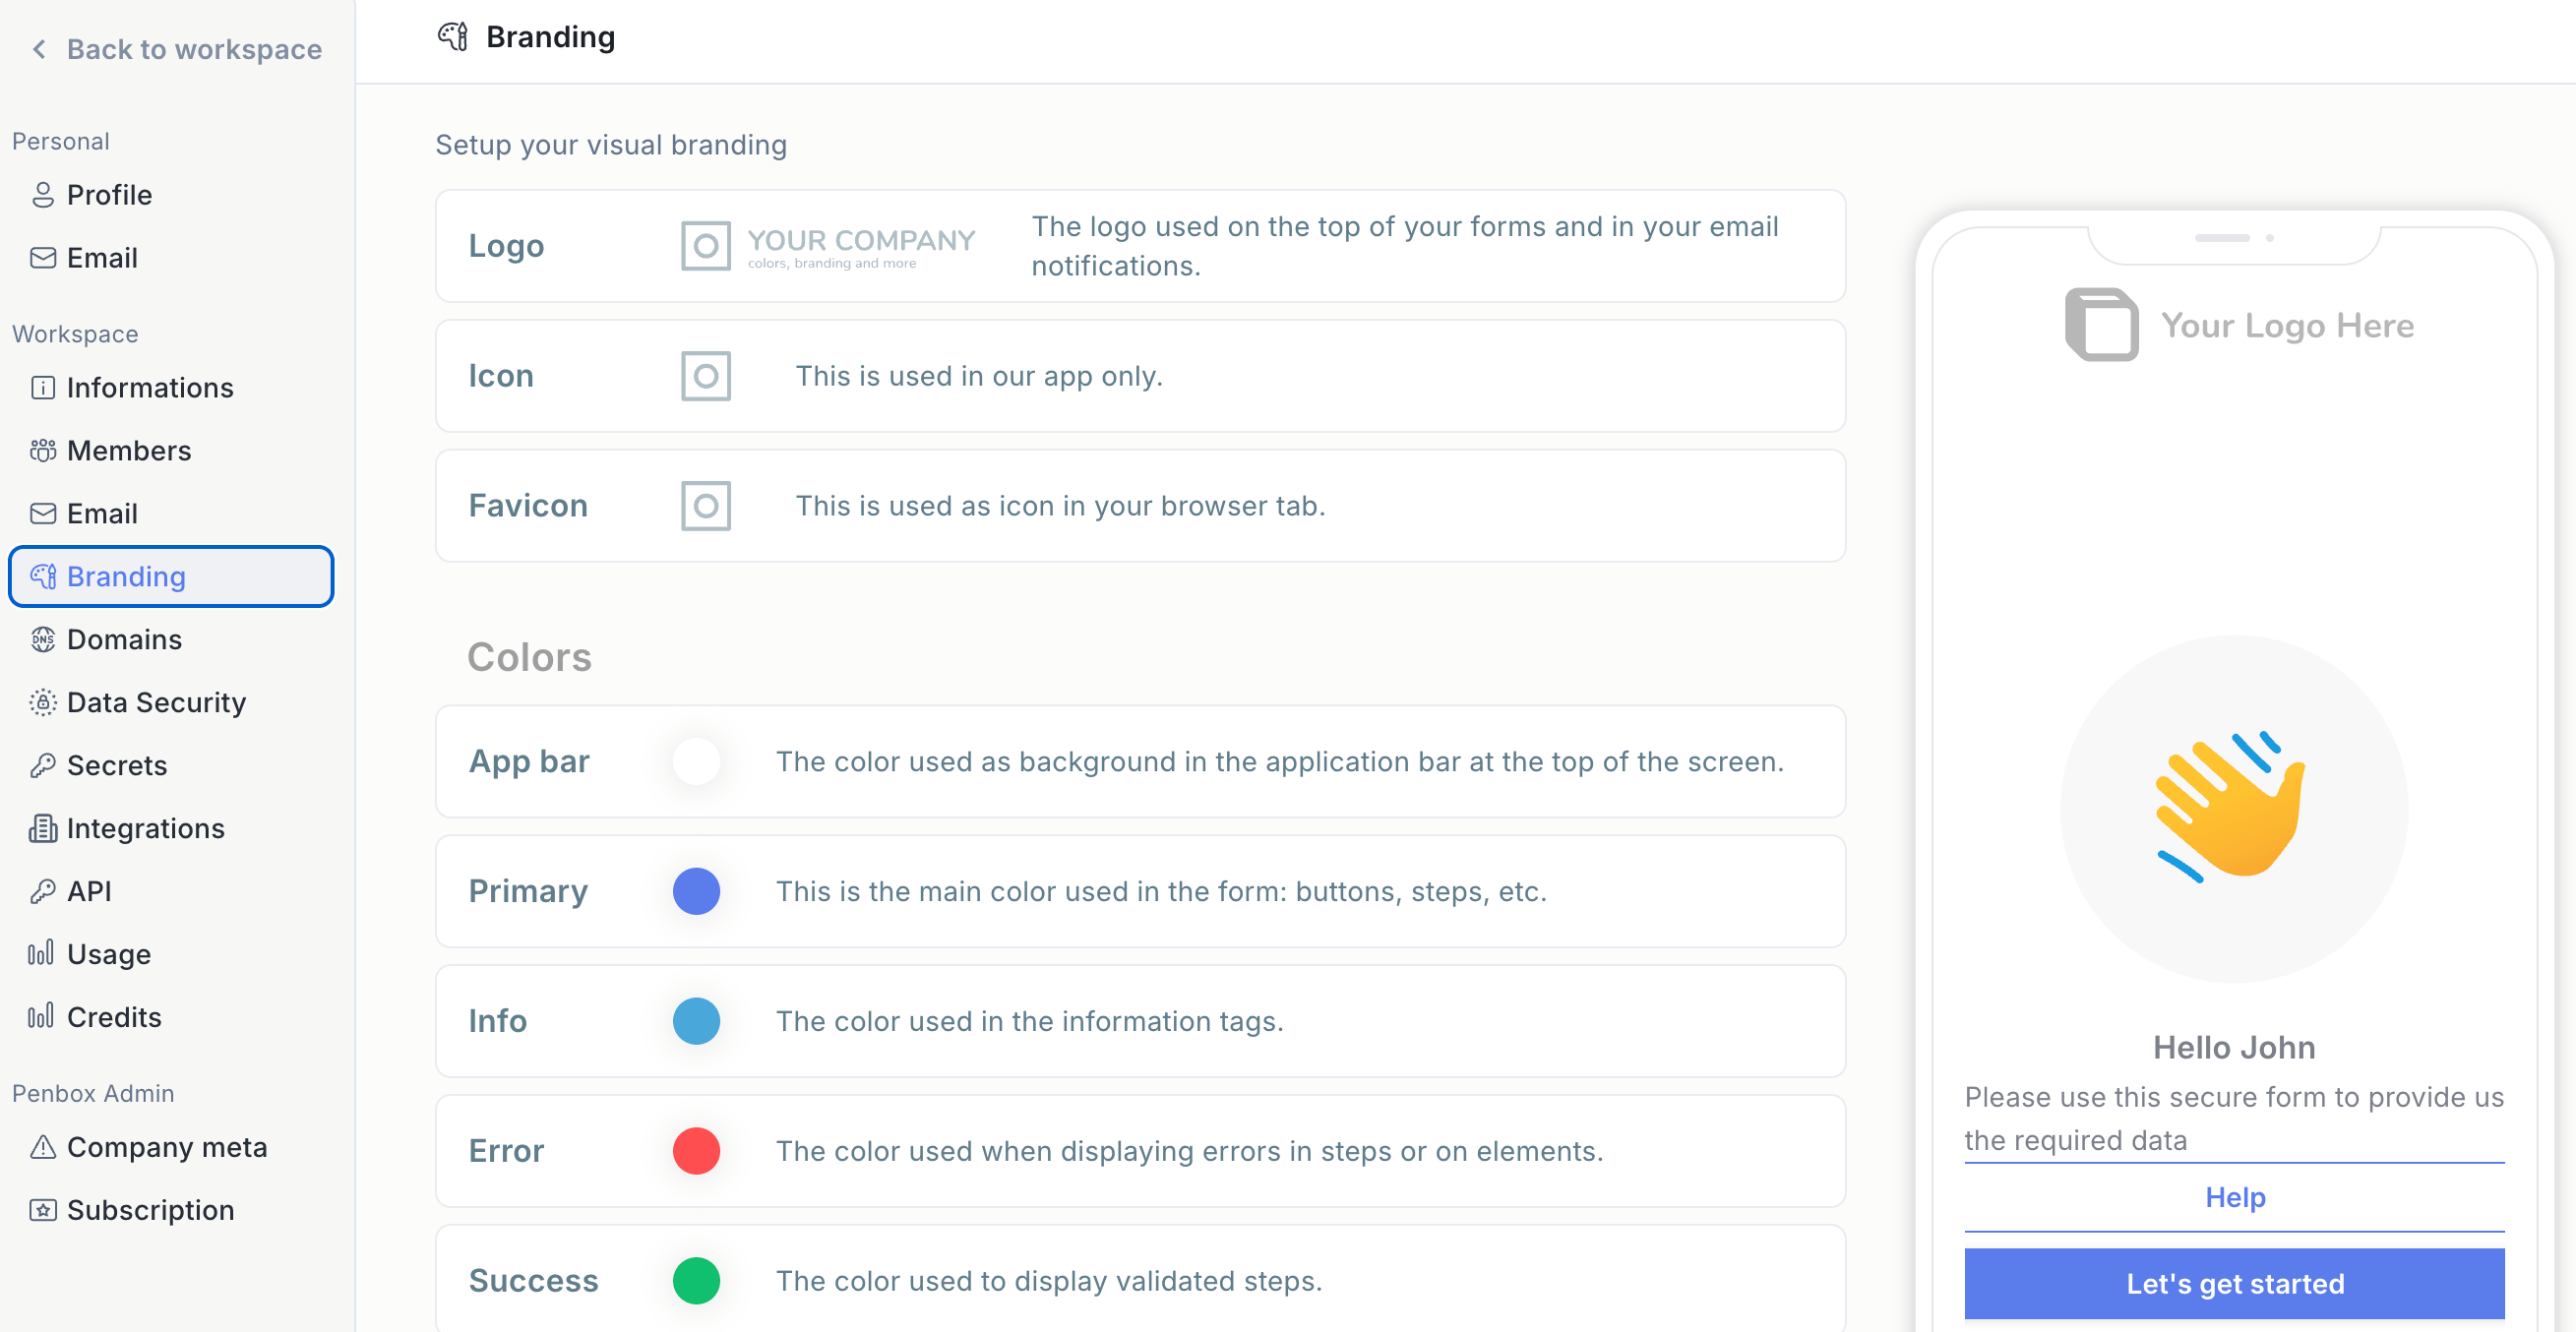 * Upload your **logo**, **icon**, and **favicon**.
***
## Domains
In the **Domains** tab, configure where your forms are hosted and from which address your emails are sent.
* Upload your **logo**, **icon**, and **favicon**.
***
## Domains
In the **Domains** tab, configure where your forms are hosted and from which address your emails are sent.
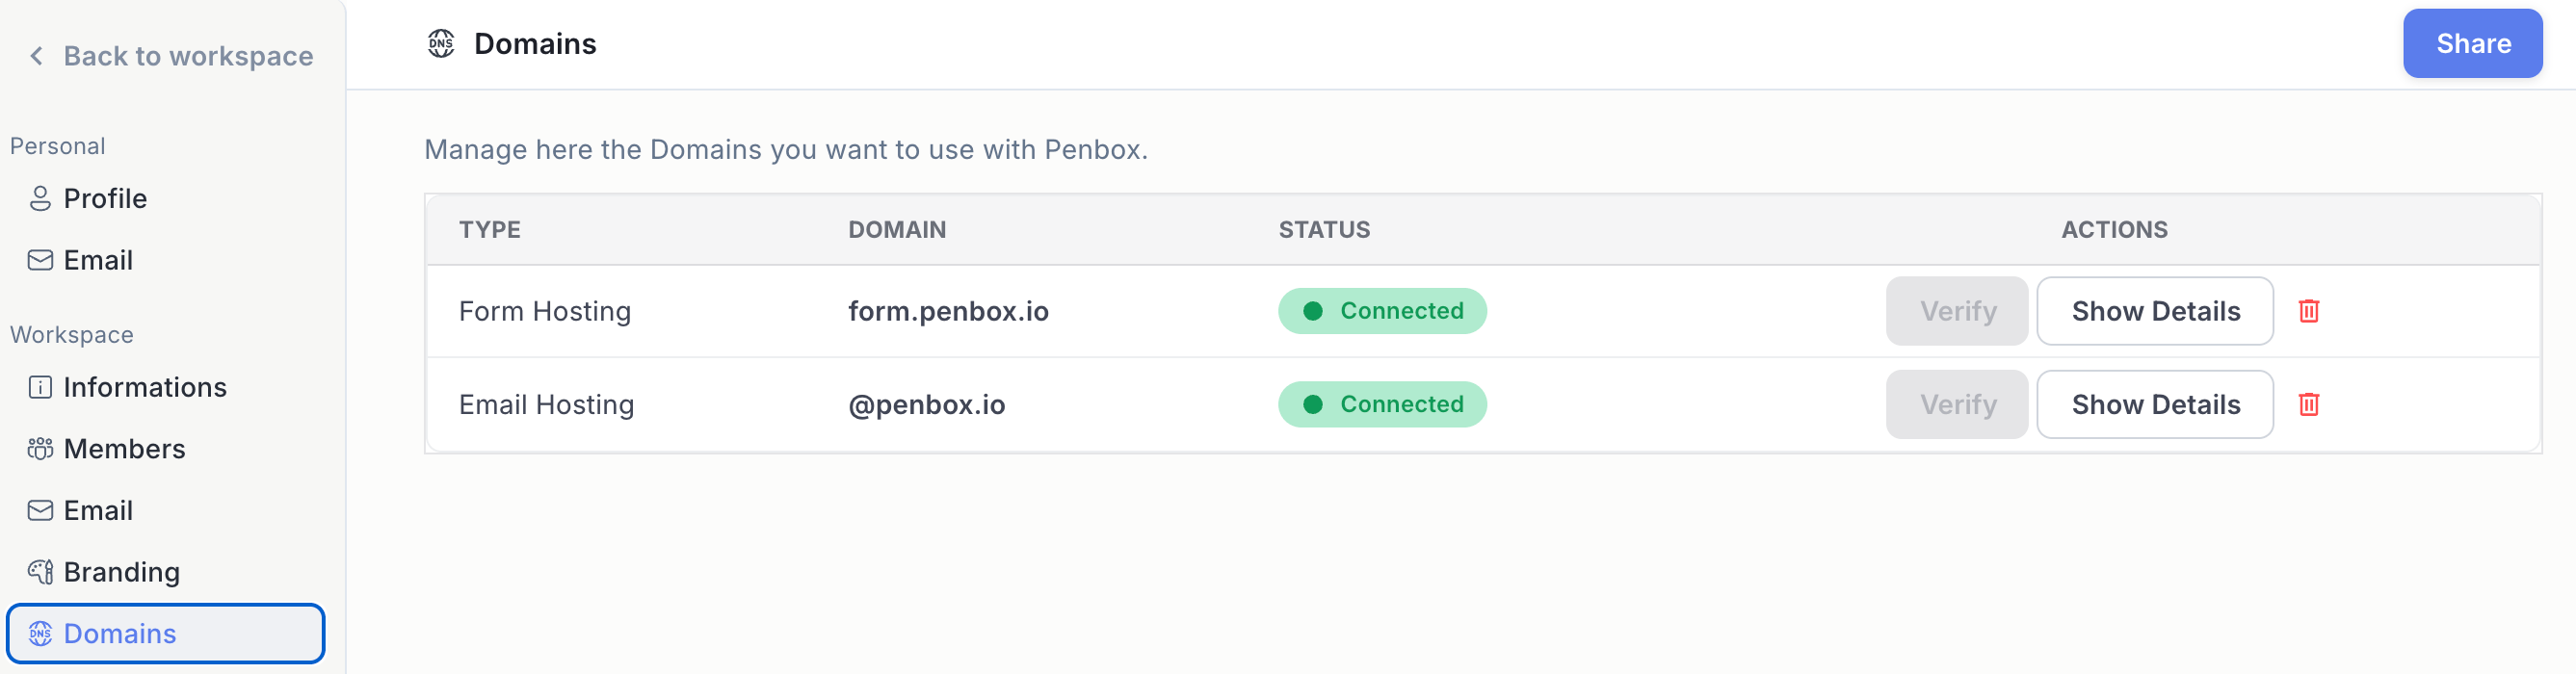 We strongly recommend configuring your own domain rather than using Penbox's default domain. Your clients will trust an email from an address they recognise, and will feel more comfortable navigating a form hosted on your own domain.
Define the domain on which your forms will be hosted.
Define the domain from which your emails will be sent.
Click **Share** to retrieve the configuration instructions to send to your domain administrator.
Once your domain administrator confirms the changes are done, click **Verify** and make sure all statuses show as **Connected**.
***
## What's next?
Create your first form template in Penbox.
Learn more about roles and permissions in your workspace.
We strongly recommend configuring your own domain rather than using Penbox's default domain. Your clients will trust an email from an address they recognise, and will feel more comfortable navigating a form hosted on your own domain.
Define the domain on which your forms will be hosted.
Define the domain from which your emails will be sent.
Click **Share** to retrieve the configuration instructions to send to your domain administrator.
Once your domain administrator confirms the changes are done, click **Verify** and make sure all statuses show as **Connected**.
***
## What's next?
Create your first form template in Penbox.
Learn more about roles and permissions in your workspace.