

What you’ll build
By the end of this guide, you’ll have a ready-to-use case template that:- Sends a form to your new employee to collect their personal details
- Automatically follows up with a welcome email
1
Open the Templates section
Head over to your Penbox workspace and click Templates in the sidebar, then select Cases.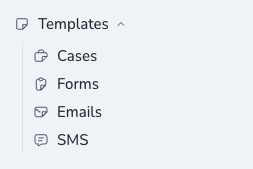
2
Create a new template
Click + New template, give it a name (for example, Collect info about new employee), and hit Create.
3
Define your main contact
Every case has a main contact — the person you’ll be communicating with. In this scenario, that’s your new employee.
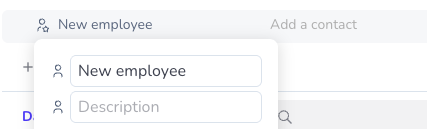
- Click on Main Contact to rename it.
- Change the name to New employee.
4
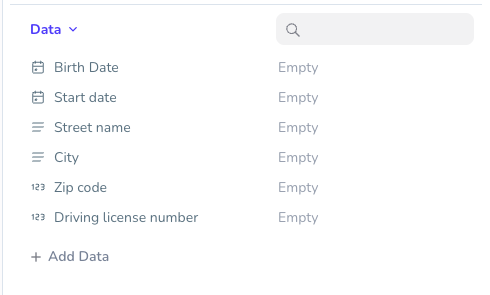
Set up your data schema
Now let’s define the information you need to collect. For a new employee, you’ll typically need six data points:
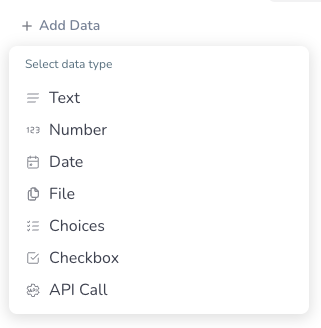
Here’s how to add them:
- Click + Add Data.
-
Select the appropriate data type (e.g., Date for Birth date).
-
Click on the new field’s name and rename it (e.g., Birth date).

-
Repeat for each data point.
5
Create your first step: the collection form
Time to set up the communication flow. Your first step will send an email with a form so your new employee can fill in their details.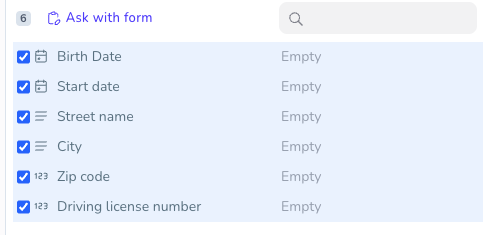


- Select the six data points you just created.
- Click Ask with form.
- Review the form preview to make sure all the right fields are included, then click Done.
- Penbox’s AI will automatically generate an email inviting your new employee to fill out the form. Review the email content, tweak it if needed, and click Save.
6
Create your second step: the welcome email
Now let’s add a follow-up email to thank your new employee and welcome them aboard.

- Click Email.
- Click on the email subject line and change it to something like Thank you and welcome.
- Write a friendly welcome message in the email body.
- Click Save.
You’re all set!
Your case template now has two steps:- Step 1 — An email with a form to collect your new employee’s information
- Step 2 — A welcome email to thank them and say hello
What’s next?
Run your first case
Put your template to work — launch a case, collect data, and close it in minutes.
Customize further
Add more steps, attach documents, or include additional data fields as your onboarding process evolves.
Explore other templates
Case templates work for any multi-step data collection workflow, not just onboarding.