

Part 1: Prepare your Excel file
Your Excel file is the source of data for your campaign. Each row represents one recipient, and each column represents a piece of information — either about the person to contact, or data to pre-fill in their form. The column headers must match the variable names used in your Penbox form. Penbox will use these to map each column to the right field when you upload the file. Once your file is ready, save it as a CSV file — Penbox requires a CSV format to import your data and launch the campaign.To find the variable name of a field in one of your forms: go to Templates → Forms, open the form, click Edit, find the question, then click the six dots icon next to it. The variable name appears next to the </> symbol.

Part 2: Review and test your form
Before launching your campaign, make sure the form you want to send is ready and works as expected.1
Go to your workspace
Navigate to Templates → Forms.
2
Open the form
Click on the form you want to send as a campaign.
3
Test it
Click New request to send the form to yourself and verify that everything looks correct.
Part 3: Create and configure the campaign
1
Open Campaigns
Click Campaigns in the left-hand navigation.
2
Create a new campaign
Click Create a campaign.
3
Name your campaign
Give your campaign a clear, recognisable name.
4
Add data
Click Add data.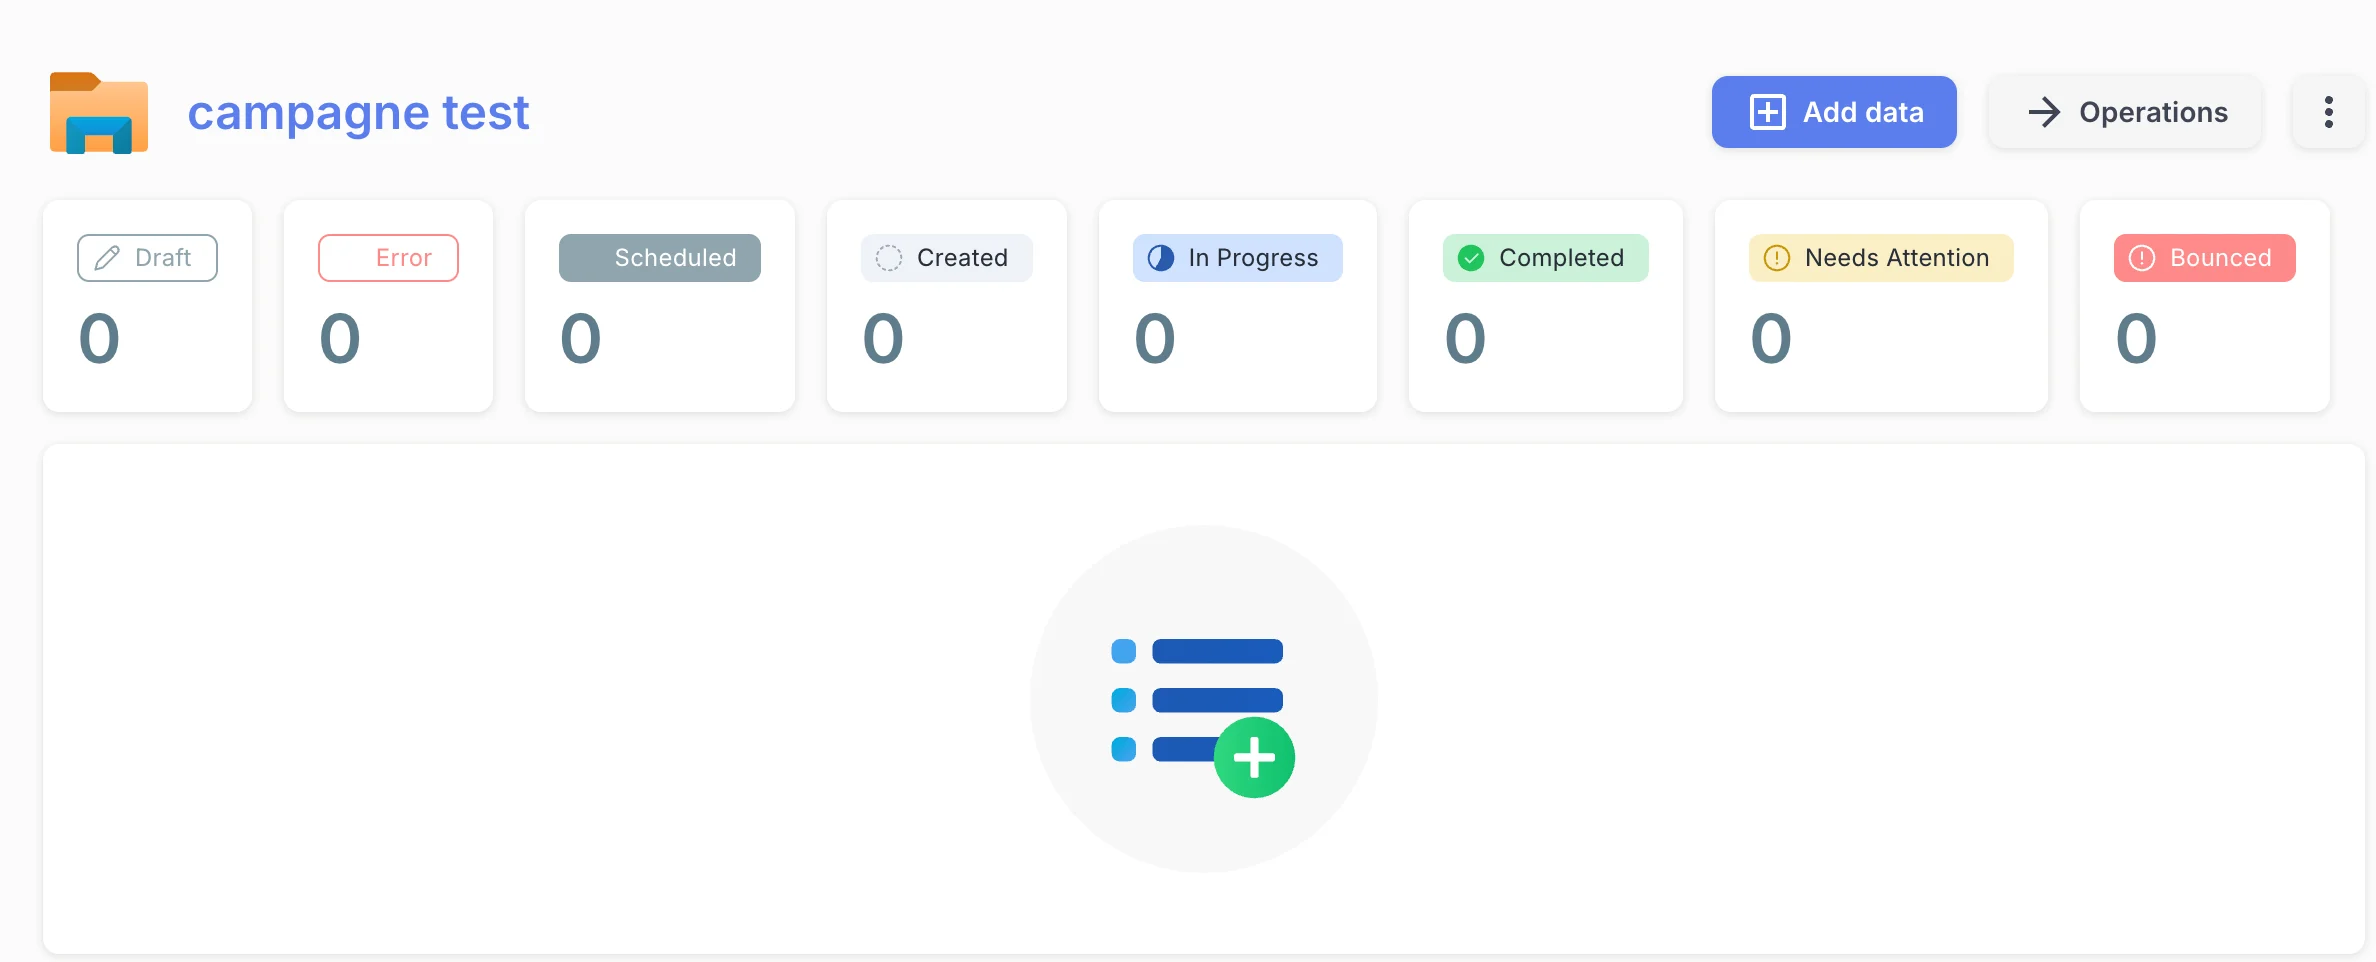
5
Select the form
Choose the form you want to send in bulk.
6
Select the file type
Choose CSV as the file type.
7
Upload your CSV export
Upload the CSV file you prepared in Part 1.
8
Upload the files
Click Upload files.
9
Check the mapping screen
Review the mapping screen that appears and confirm that all fields have been imported correctly.
10
Validate the mapping
Click Validate mapping.
11
Preview the forms
You will now see a preview of the individual forms that will be sent. Take a moment to check the content of a few.
12
Validate options
Click Validate options.
13
Start creation
Click Start creation to generate all the individual forms. This may take a moment.
Part 4: Schedule your sends
1
Open the scheduler
Once the forms are created, click Schedule to define when and how sends go out.
2
Configure your send schedule
Fill in the following options:
- Sends per wave — how many forms go out per batch
- Start date — when sending should begin
- Send time — the time of day for each wave
- Send days — the days of the week on which sends happen
Example: 3 sends per day · send days: Monday and Wednesday · send time: 11:00 AM → 3 forms will go out every Monday and Wednesday at 11 AM.
3
Start scheduling
Click Start scheduling. This may take a moment.
You’re done 🎉
Your campaign is created and your sends are scheduled. Well done!What’s next?
Form Notifications
Configure the invitation and reminder emails your recipients receive.